Key Takeaways
- The DJI Mavic Air 2 is an exceptional tool for bird photography due to its advanced camera capabilities and maneuverability.
- Before taking off, update your drone’s software, check battery health, and ensure you have all necessary gear.
- Scout your location ahead of time to understand the environment and identify potential subjects.
- Master the timing and precision required to capture birds in flight by using the Mavic Air 2’s intelligent flight modes.
- Always prioritize safety and ethical considerations by being aware of flight restrictions and minimizing disturbance to wildlife.
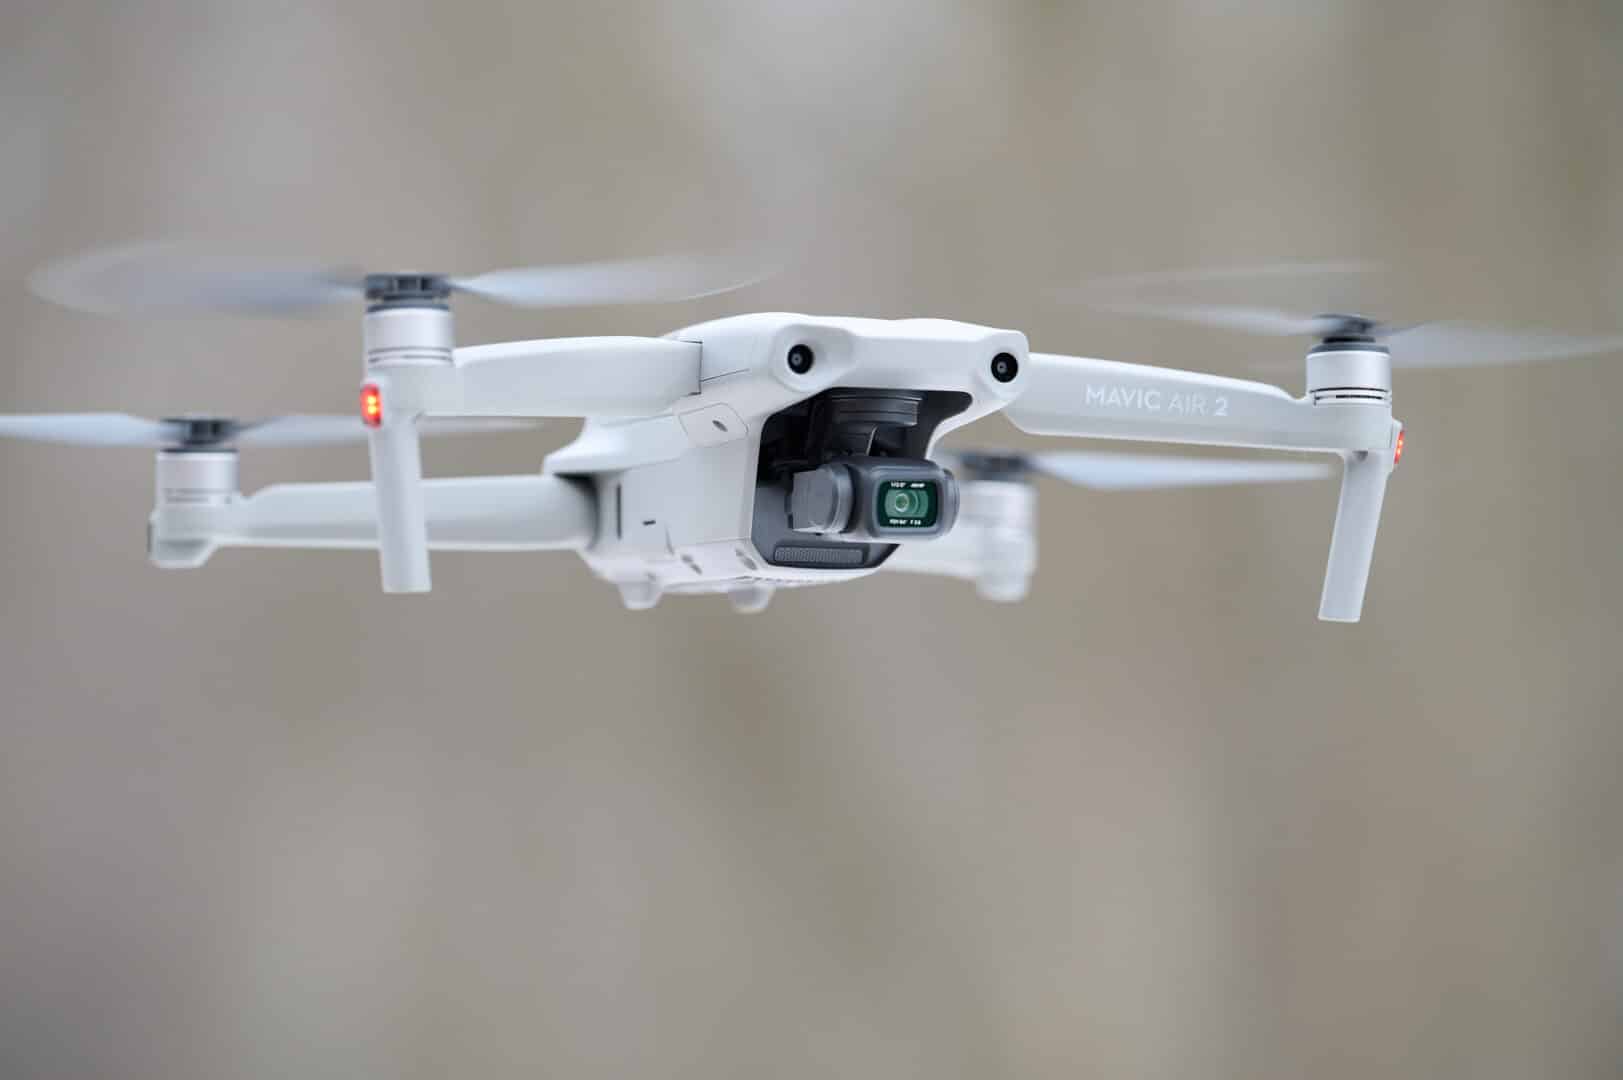
“DJI Mavic Air 2 Review” from www.thephoblographer.com and used with no modifications.
Why Choose DJI Mavic Air 2 for Bird Photography
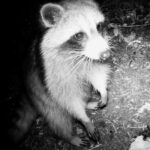
When it comes to capturing the grandeur of birds in their natural habitat, the DJI Mavic Air 2 stands out as a top choice. Its 48MP camera with a 1/2″ CMOS sensor brings out the vibrant colors and intricate details of avian life. The drone’s 3-axis gimbal ensures stability even in unpredictable winds, resulting in crisp, clear images. But what really sets the Mavic Air 2 apart is its ability to silently hover and maneuver, allowing you to get close to birds without startling them. This is critical because, in bird photography, the less intrusive you are, the more natural and dynamic your shots will be.
Understanding Your Drone’s Capabilities
Knowing your drone’s capabilities is crucial to harnessing its full potential. The Mavic Air 2 boasts features such as SmartPhoto, which uses advanced scene analysis to optimize your shots. It also has an impressive flight time of up to 34 minutes, giving you ample opportunity to track and photograph your subjects. The drone’s 8K Hyperlapse feature is perfect for creating breathtaking time-lapse videos that showcase the movement and behavior of birds over time. These features, combined with a maximum flight speed of 68 kph (in Sport mode), make the Mavic Air 2 a formidable tool for any bird photographer.
Pre-Flight Preparations: Setting the Stage
Before you even think of taking to the skies, there’s groundwork to be done. This stage is all about meticulous preparation, ensuring that when you do launch, you’re set for success.
Essential Gear and Accessories
Start by gathering your gear. Besides the Mavic Air 2, you’ll need additional batteries for extended shooting sessions, ND filters to manage exposure in bright conditions, and a microSD card with enough space to store high-resolution images and videos. A landing pad is also recommended to protect your drone from rough terrain during takeoff and landing. These essentials will keep you flying longer, shooting better, and ensuring the safety of your equipment.
Updating Software and Checking Battery Health
Now, let’s talk tech. Before you head out, make sure your drone’s firmware is up to date. This will ensure you have the latest features and bug fixes. Battery health is another critical check. The Mavic Air 2’s intelligent batteries have a built-in management system, but it’s up to you to ensure they’re fully charged and functioning correctly. Remember, a well-maintained drone is a reliable partner in the field.
Scouting and Understanding the Environment
Scouting your location is not just about finding a pretty backdrop. It’s about understanding where birds congregate, what their flight patterns are, and what times of day they’re most active. Take a walk around your intended flight area, or use satellite imagery to plan your shoot. Look for landmarks that birds may use as perches or nesting sites. The more you know about your environment, the better your chances of capturing that perfect shot.
Utilizing the Mavic Air 2’s Zoom Features
Zooming in on your subject without startling it is a game-changer in bird photography. The Mavic Air 2’s zoom capability allows you to capture close-up shots while maintaining a safe and respectful distance. When you spot a bird, gradually zoom in to frame your shot, being mindful to move slowly to avoid sudden movements that could disrupt the scene. This feature is particularly useful when photographing birds in flight or resting in their natural habitats.
Adjusting Camera Settings for Different Times of Day
Lighting can make or break your bird photography. The Mavic Air 2 offers manual camera settings, giving you control over exposure, shutter speed, and ISO. In the soft light of early morning or late afternoon, known as the golden hours, set a lower ISO to capture the warm tones. During midday, when the sun is harsh, use a higher shutter speed to avoid overexposure. Understanding and adjusting these settings will ensure your photos are vibrant and detailed, no matter the time of day.
Composing Your Shot: The Art of Aerial Imagery
Composition is vital in transforming a simple snapshot into a compelling photograph. Aerial photography presents unique opportunities and challenges for composing your shot. You need to think differently when you’re up in the air, looking down on your subject.
The Rule of Thirds from Above
The rule of thirds is a classic composition technique, and it’s just as relevant in the sky. Imagine your frame divided into nine equal segments by two vertical and two horizontal lines. Try to align the bird with one of the points where these lines intersect. This placement creates balance in your photo and draws the viewer’s eye to the subject. It’s a simple yet powerful way to enhance the visual appeal of your bird photography.
Playing with Perspective: High Angle and Top-Down Views
A bird’s-eye view offers a fresh perspective that ground-based photography can’t. Experiment with high-angle shots to show the bird’s context within its environment. Top-down views can be especially dramatic, revealing patterns and textures that are invisible from the ground. The Mavic Air 2 gives you the flexibility to explore these angles and discover new creative vistas.
Besides that, consider the background of your shot. A cluttered background can distract from your subject, so aim for simplicity. Use the natural landscape to your advantage, and don’t be afraid to reposition your drone for the best composition.
Maximizing the Use of Natural Light
Natural light is a photographer’s best friend, and when it comes to drone photography, it’s no different. The direction and quality of light can dramatically alter the mood of your image. Aim to shoot when the light is soft and diffused, such as during the golden hours or on overcast days, to avoid harsh shadows and highlights. Remember, the sun is always a factor, so keep an eye on its position relative to your subject. Side lighting can reveal texture and depth, while backlighting can create a stunning silhouette or a halo effect around your bird subject.
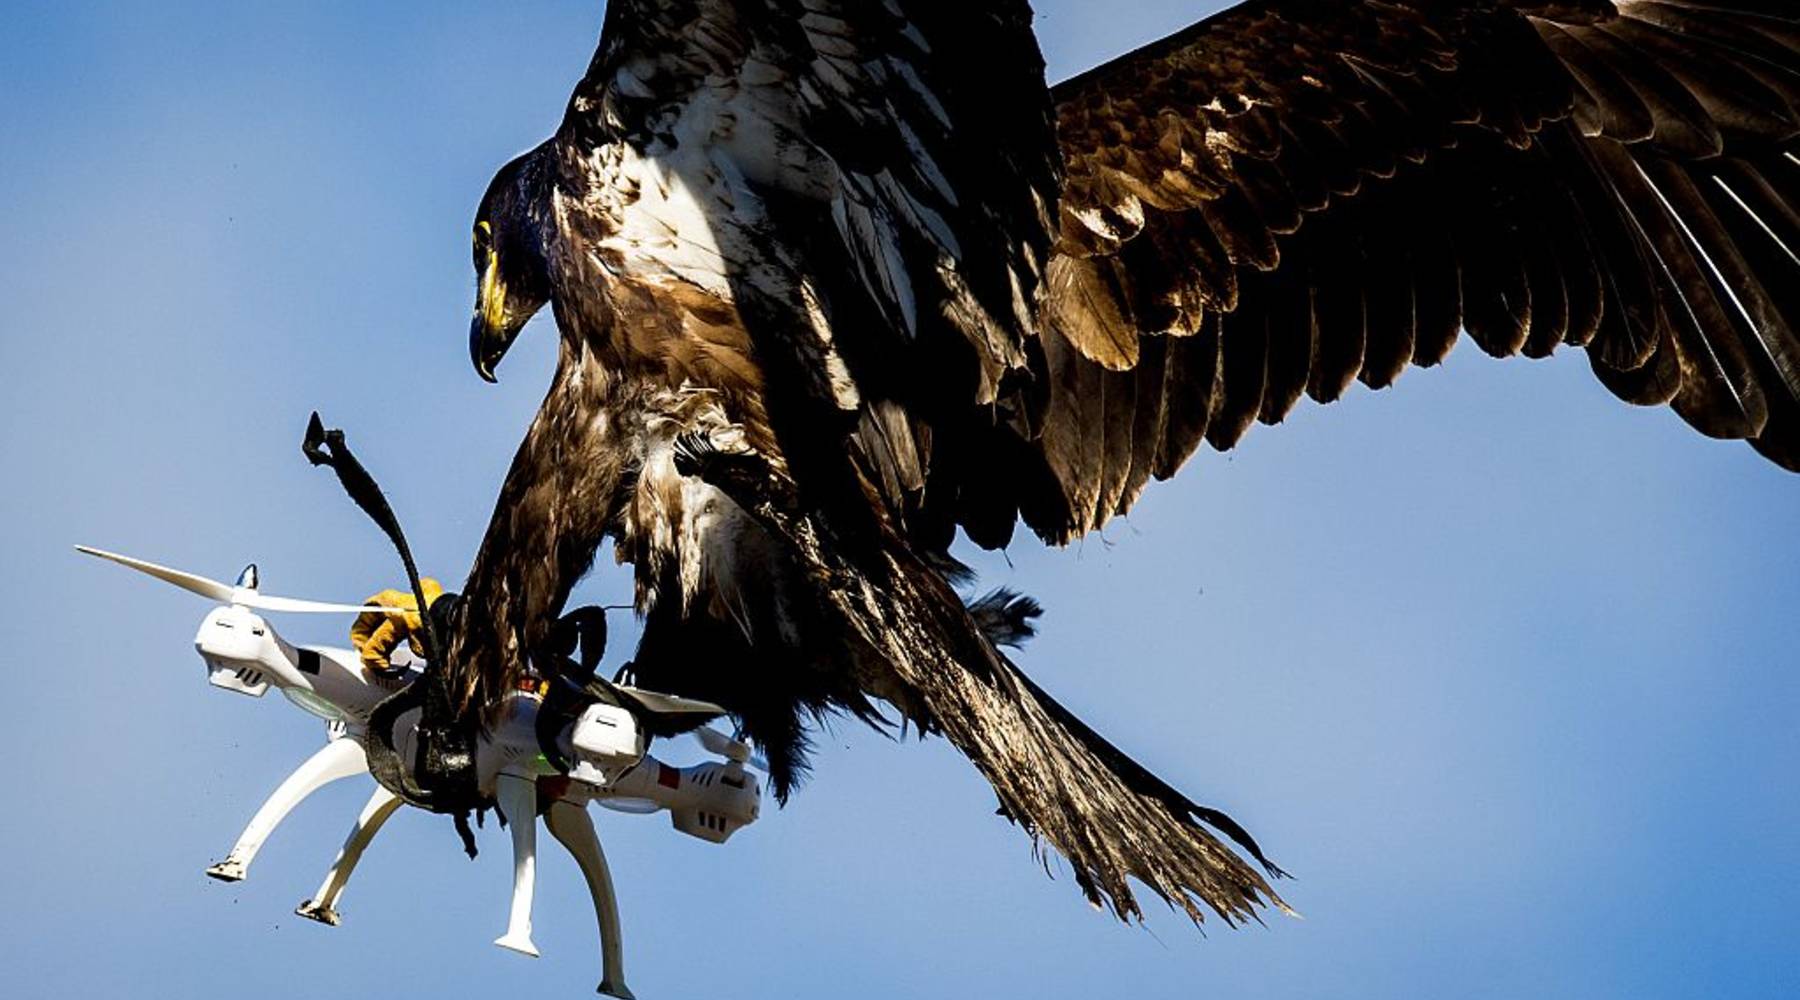
“A Dutch company is training birds to …” from www.marketplace.org and used with no modifications.
Executing the Perfect Shot: In-Flight Strategies
Once you’ve mastered the basics, it’s time to focus on the execution. Capturing birds in their element requires not just knowledge, but also timing and reflexes.
Handy Flight Modes for Bird Photography
The Mavic Air 2 comes equipped with several intelligent flight modes that can help you capture dynamic bird shots. Tripod Mode slows down the drone’s movements for precision framing, which is excellent for capturing birds at rest. ActiveTrack allows you to lock onto a moving subject, like a bird in flight, and follow it effortlessly. These modes free you up to concentrate on the camera settings and composition while the drone takes care of the flying.
Maneuvering the Drone for Dynamic Angles
Dynamic angles can bring your bird photography to life. Don’t just settle for a straight-on shot; move around your subject to find the most engaging angle. Ascend above a bird in flight to capture the spread of its wings from above, or gently circle around it to get a profile view. The Mavic Air 2’s responsive controls allow for smooth movement, which is essential when trying to capture the perfect angle.
Anticipating Bird Behavior for Candid Shots
To capture birds in their most natural state, you need to anticipate their behavior. Watch for patterns in their movements and be ready to shoot when they take flight, land, or interact with other birds. Patience is key; sometimes, you’ll need to hover quietly and wait for the right moment. Your understanding of bird behavior, combined with the Mavic Air 2’s stealthy flight, will result in candid shots that truly reflect the essence of your avian subjects.
Safety and Respect: Ethical Drone Photography
Ethical considerations are paramount in bird photography. Your aim should be to capture stunning images without causing harm or stress to the wildlife you’re photographing.
Understanding Flight Restrictions and Protected Areas
Before you fly, familiarize yourself with local drone regulations. Many areas, especially nature reserves and national parks, have strict rules about drone usage. Some places prohibit drones altogether to protect sensitive wildlife. Always check the rules for the area you plan to fly in, and respect any restrictions in place. It’s not just about following the law; it’s about preserving the natural environment for the birds and other wildlife that inhabit it.
Avoiding Disturbance to Wildlife
The welfare of your subjects should always come first. Maintain a distance that allows you to capture great shots without causing distress to the birds. If you notice any signs of agitation or disturbance, such as birds vocalizing loudly, changing their behavior, or fleeing, it’s time to back off. Use your zoom and camera settings to get close-up shots instead of physically getting too close with your drone.
Maintaining privacy and adhering to local regulations isn’t just a good practice—it’s a necessity. As a drone operator, it’s your responsibility to ensure you’re not invading anyone’s privacy while capturing your images. This means avoiding areas where individuals have an expectation of privacy, such as private properties or secluded spaces. Always fly your drone within line of sight and use common sense to avoid privacy complaints.
Respect for privacy goes hand-in-hand with local laws. Many regions have specific regulations about where drones can fly, especially in urban areas. It’s important to research these laws beforehand to prevent any legal issues. Remember, the rules are there not just to protect people’s privacy but also to ensure safety for everyone involved.
- Always research and comply with local drone regulations.
- Respect individuals’ privacy by avoiding flying over private properties without permission.
- Keep your drone within line of sight and avoid sensitive areas.
Now, let’s pivot to what happens after your drone has landed and you’re back at your workstation with a memory card full of potential masterpieces.
After the Flight: From RAW to Ready
Shooting in RAW format is like having a digital negative that you can develop in multiple ways. This format captures all image data recorded by the sensor when you take a photo. It allows for greater flexibility in post-processing, giving you the power to tweak exposure, white balance, and other settings without loss of quality.
Essential Post-Processing Techniques
Post-processing is where your bird photos transform from good to great. Using editing software like Adobe Lightroom or Photoshop, you can adjust exposure, contrast, and saturation to make your images pop. Sharpening is particularly important to bring out the fine details in feathers. Don’t forget to reduce noise, which can be prevalent in shots taken at high ISOs during low light conditions. Lastly, cropping can improve composition and draw attention to the bird, making for a more impactful photograph.
Backing Up Your Shots: Storage Solutions
Backing up your photos is critical. Imagine losing all your day’s work due to a technical glitch—it’s every photographer’s nightmare. Invest in reliable storage solutions, like external hard drives or cloud services. And practice the 3-2-1 rule: keep three copies of your data, store two backup copies on different storage devices, and keep one of them offsite.
Sharing Your Work: Platforms and Communities for Aerial Photographers
Once you’re happy with your edited photos, it’s time to share them with the world. Platforms like Instagram, 500px, and Flickr are great for showcasing your work and connecting with other photographers. Joining communities like DJI’s SkyPixel or forums dedicated to drone photography can provide valuable feedback, inspiration, and opportunities to learn from others’ experiences.
Frequently Asked Questions (FAQ)
What is the maximum altitude and distance for bird photography with the Mavic Air 2?
The Mavic Air 2 can fly up to 500 meters (1640 feet) above ground level and has a maximum range of 10 kilometers (6.2 miles). However, for bird photography, you’ll often be flying much lower to capture detailed shots. Always adhere to local regulations regarding maximum flight altitude and never lose line of sight with your drone.
How can I improve the quality of my bird photos taken with a DJI drone?
To improve the quality of your bird photos, practice the following:
- Use the right camera settings for the environment.
- Understand bird behavior to anticipate and capture the best moments.
- Utilize the Mavic Air 2’s intelligent features like ActiveTrack and Point of Interest.
- Perfect your post-processing skills to enhance the images.
Can I use Mavic Air 2 in national parks for bird photography?
Drone use in national parks is often restricted or prohibited to protect wildlife and visitors’ experiences. Always check with the specific park’s regulations before flying a drone. In some cases, special permits may be required.
How does weather affect drone photography, and how can I prepare?
Weather can greatly impact your drone photography sessions. High winds can make flying difficult, while rain can damage your equipment. Always check the weather forecast before planning your shoot. If conditions are less than ideal, it might be best to postpone. When flying, monitor the weather continuously and be prepared to land if conditions worsen.
What are some creative techniques I can apply to my bird photography with the Mavic Air 2?
Get creative with these techniques:
- Experiment with different perspectives, such as side-on or top-down shots.
- Play with light and shadow to add mood to your images.
- Try capturing birds in their landscape to tell a story about their habitat.
- Use the Mavic Air 2’s slow-motion video feature to create dramatic footage of birds in flight.